After years of having babies and trying to decide what kind of stockings I want my family to have for Christmas time, I finally have designed what I think are the perfect stockings! Check out the simple, quick, and ADORABLE crochet Blanket Stitch Christmas Stocking!
Like I said, this stocking pattern has been a long time coming. But after this summer of taking a step back from my blog to decide really what direction I wanted to take it, I have come to some BIG decisions.
Before I really let you all know about what those decisions are, I’m going to give you one more reason I have for these decisions. I’M PREGNANT!! Yep! That’s right! 4 babies in 4 1/2 years! And especially after seeing our strong and beautiful baby on an ultrasound the other day, we are beyond excited to hold and snuggle that little cutie!
Like the rest of our pregnancies, we are waiting to find out the sex until the baby is born in March.
So my biggest decision is to only post once a month. Now, this may mean less free patterns, but I will still be emailing my newsletter out every week. This newsletter will include round ups, previous patterns for the proper time of year, and the monthly pattern. Sign up below if you haven’t yet!
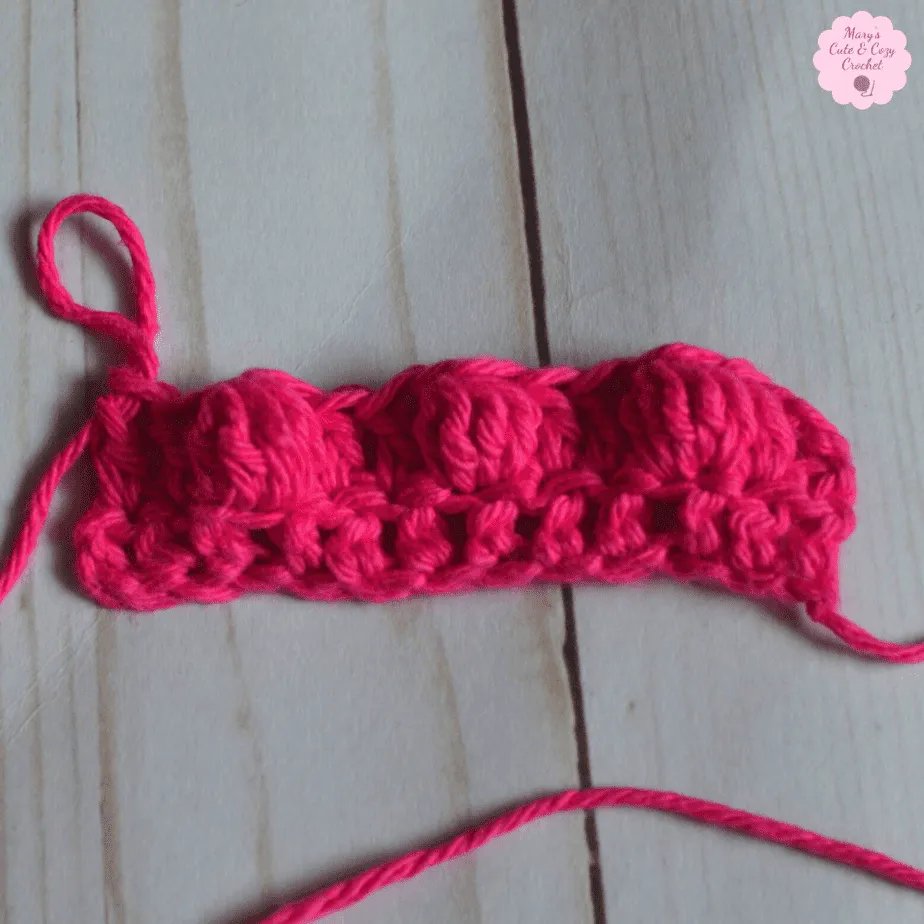
Now let’s get back to the stocking pattern. This pattern is so easy and quick! It takes only a couple hours to complete, so it is perfect for getting all of those decorations done for when you need them. It uses a stitch called the Blanket Stitch, which is a combination of first row of single crochet and chains and second row of double crochet clusters. Super pretty and very beginner friendly. There are pictures in the pattern for reference.
I hope you enjoy this beautiful stocking!
Blanket Stitch Christmas Stocking
Buy this Pattern in pdf form:
Want to save it for later?
Materials:
5 mm (H) crochet hook (I like these hooks![]() )
)
150 yards Red Heart Super Saver Yarn in Cherry Red
150 yards Red Heart Super Saver Yarn in White
Scissors
Tapestry Needle
For detailed recommendations, visit my Recommendations Page.
Gauge: 4 double crochets X 2 rows = 1” square
Terminology: US terminology
Stitches Used and Abbreviations:
ch: chain
sc: single crochet
dc: double crochet
cluster stitch: 3 double crochets worked in chain space
sl st: slip stitch
st(s): stitch(es)
sk : skip
Measurements: Stocking is 16 inches tall once top flap is folded down. It will be 5 ¼ inches wide.
Important Notes:
- No matter your skill level, I always suggest that you read through the pattern from beginning to end before beginning your work just to be sure you don’t have any questions that might cause frustration in the midst of your project.
- Chain 3 will always count as a double crochet.
- Chain 1 will NEVER count as a stitch.
- The toe, heel, and top will be using the contrasting color.
- The cluster stitches will be in the main color.
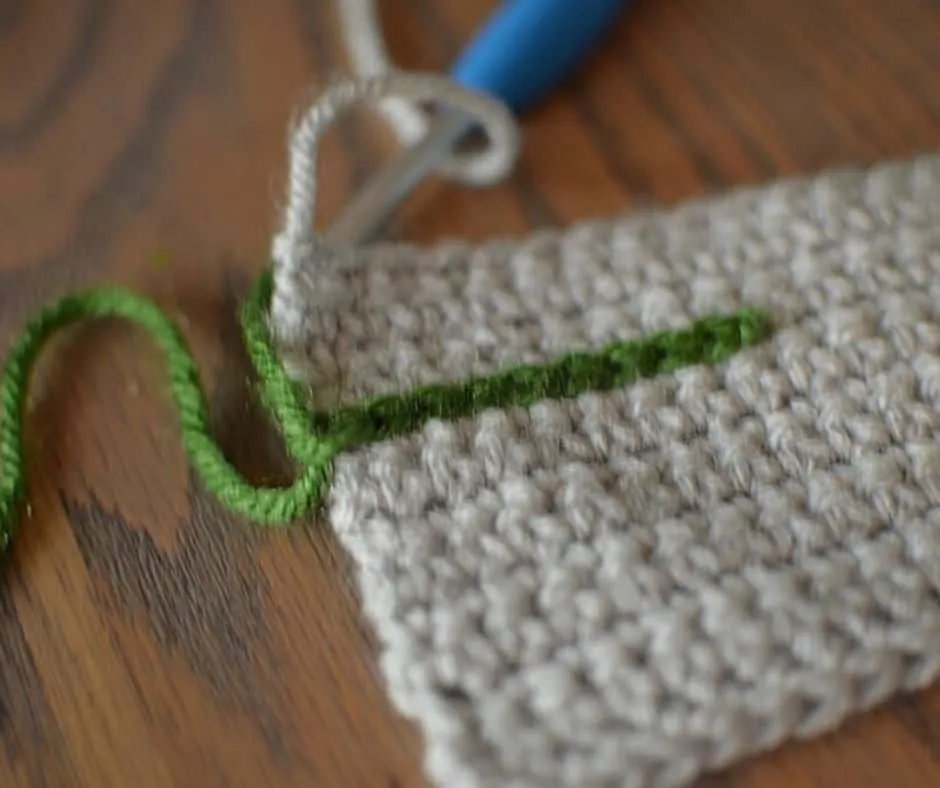
- The heel will be worked back and forth as a row. You will add a stitch at the end of each row by working a single crochet in the next stitch from round 17. There are pictures for reference.
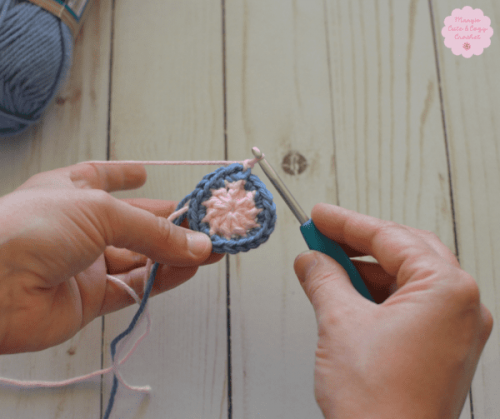
- I used a technique for color changing that can be found here.
- Do not cut yarn at every color change. Just pull the yarn up whenever you change.
- Round 28 will have 6 extra stitches, so be sure to put a stitch marker in the 6th stitch. This will become the beginning of your round, so the start of every round after the heel matches up with the start of every round after the heel.
Pattern:
Start with contrasting color.
Round 1: Make a magic circle, ch 3 (counts as stitch), work 9dc into magic circle, sl st to join at the top of ch 3. (10)
Round 2: ch 3, dc in same st, 2dc in each st around, sl st to join. (20)
Round 3: ch 3, dc in same st, dc in next st, *2dc in next st, dc in next st* around, sl st to join. (30)
Round 4: ch 3, dc in same st, dc in next 2 sts, *2dc in next st, dc in next 2 sts* around, sl st to join. (40)
Round 5: ch 3, dc in same st, dc in next 7 sts, *2dc in next st, dc in next 7 sts* around, sl st to join. (45)
Round 6: ch 1 (does not count as st), sc in same st, ch 2, sk 2, *sc in next st, ch 2, sk 2, sc in next st* around, sl st at top of first sc to join.
Switch to main color. (use this technique)
Round 7: ch 3 (counts as st), work 3dc in each of the previous row’s ch 2 spaces, sl st at top of ch 3 to join. (See below)
Switch to contrasting color.
Round 8: ch 1, *sc in space between 3dc clusters from previous row, ch 2* around, sl st at top of first sc to join. (See below for reference)
Switch to main color.
Rounds 9-17: Repeat rounds 7-8, ending on a dc cluster round.
Starting on Heel of Stocking.
Row 18: Using contrasting color, ch 1, sc 13, turn.
Row 19: ch 1, sc in next 13 sts, sc in next dc from round 17, turn. (See below for reference)
Rows 20-27: Repeat pattern as seen in Round 19 by working a sc in the next st in Round 17 after every row.
Round 28: ch 1, sc in next 6 sts. Place stitch marker in last sc. *ch 2, sk 2, sc in next st* around (even over the sc at the beginning of the round), stop at stitch marker and sl st to join.
Switch to main color.
Round 29: ch 3, *work 3 dc in each of the previous row’s ch 2 spaces, sl st at top of ch 3 to join.
Switch to contrasting color.
Round 30: ch 1, *sc in space between 3dc clusters from previous row, ch 2* around, sl st at top of ch 3 to join.
Switch to main color.
Rounds 31-53: Repeat rounds 29-30, ending on a dc cluster round.
Switch to contrasting color.
Rounds 54-57: ch 3, dc in next st and each st around, sl st at top of ch 3 to join. Finish off and sew in ends.
For hanging loop: Connect yarn at Round 54 about 5-6 sts in. Ch 12, sl st at the beginning of chain, finish off and sew in ends.
Fold down top flap so that 3 rounds are folded over. Now admire your beautiful new stocking!
I’d love to see your finished product! Use #cuteandcozycrochet on Instagram or Facebook.
Happy Crocheting!

*This post contains affiliate links. Any purchases made through these links grant me a small commission at no extra cost to you, but goes to support Cute & Cozy Crochet.*
*Feel free to sell any products you make with my patterns, but please link back to this pattern if selling online. See my Privacy page for more information. Thank you!*
Don’t forget to sign up for the Cute & Cozy Crochet Newsletter!
[mc4wp_form id=”136″]


